Solar Panel Installation: DIY vs. Professional Installation Services
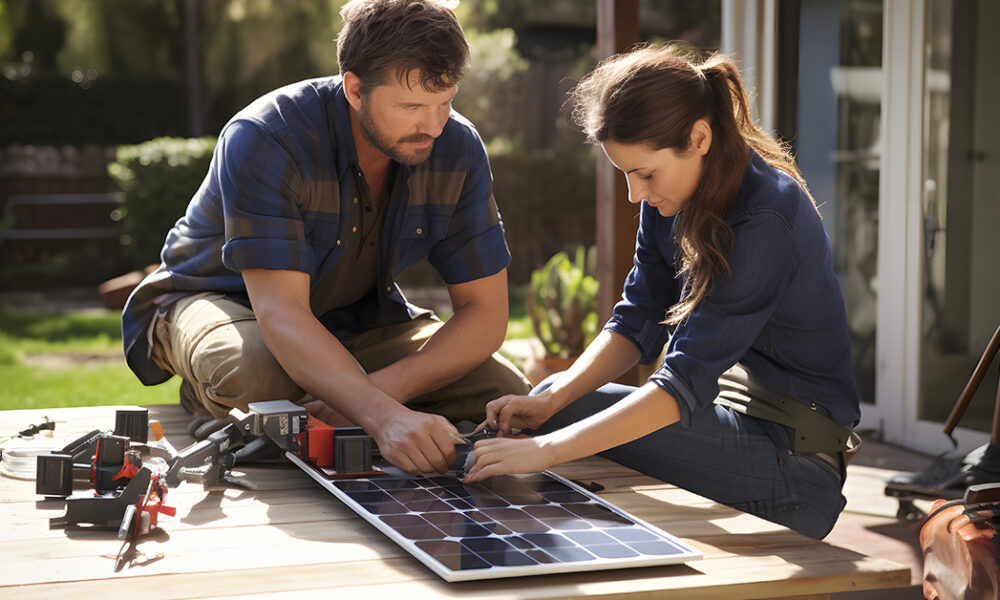
Harnessing the power of the sun has become an increasingly popular way to generate electricity and reduce energy bills. Installing a solar panel electrical system on your roof is a sustainable investment that can provide you with clean, renewable energy for years to come.
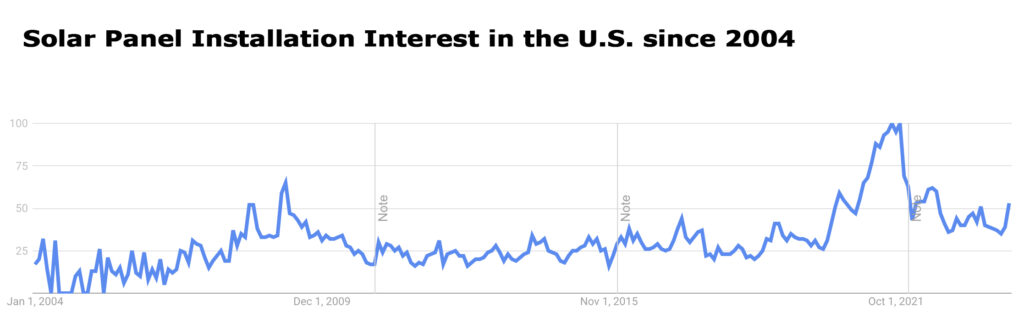
When you think about solar power, you might think it only applies to the sunniest states in the U.S. If so, you might be surprised to learn that the two states with the highest interest in solar electric power are New York and Kansas. In fact, most areas in the U.S. are good candidates for solar installations, with the potential to save you a lot of money.

Once you decide you want a solar electric system, you will need to decide between DIY and professional solar panel installation. Each option offers its own set of benefits and challenges. We’ll look at what’s involved and at your options in some detail in this article, to help you make an informed decision.
Understanding Solar Panel Installation
Before diving into the specifics of DIY versus professional installation, it’s essential to understand the process involved in setting up a solar panel system. Solar panel installation involves several steps, including site assessment, system design, permitting, installation, and connection to the power grid.
Step 1: Assess Your Solar Potential
The first step is to evaluate your home’s solar potential. This involves considering factors such as roof space, orientation, shading, and local climate. Your roof should ideally face south, west, or southwest to capture maximum sunlight. Tools like Google’s Project Sunroof can provide a preliminary assessment of your home’s solar potential.
Step 2: Determine System Size and Components
Based on your energy needs and the assessment of your solar potential, decide on the size of your solar panel system. This will determine the number of panels and the type of components you’ll need. Consulting with a professional can help you make accurate calculations based on your average electricity usage.
Step 3: Obtain Necessary Permits and Approvals
Before installation, you’ll need to secure the necessary permits and approvals from your local government and utility company. Requirements vary by location, so it’s important to research and comply with all local codes and regulations.
Step 4: Choose High-Quality Solar Panels and Components
Investing in high-quality solar panels and components is crucial for the efficiency and longevity of your system. Look for panels with a high efficiency rating and a strong warranty. The inverter is another critical component, as it affects the overall performance of your system.
Step 5: Decision Time – DIY or Select a Reputable Installer
While some homeowners may opt for a DIY approach, hiring a professional installer is recommended for most. A reputable installer will have the necessary experience, certifications, and knowledge of local regulations to ensure your system is installed correctly and safely.
Step 6: Install Mounting Hardware
The next step is to install the mounting hardware, which will support your solar panels. This involves securing mounting brackets to your roof, taking care to waterproof and seal any penetrations. The mounting system should be angled to maximize sun exposure based on your geographic location.
Step 7: Install Solar Panels and Wiring
Once the mounting hardware is in place, the solar panels can be installed. Panels should be connected in series or parallel, depending on your system’s design, to optimize performance. Wiring involves connecting the panels to the inverter, which should be placed in a cool, shaded location.
Step 8: Connect to the Grid
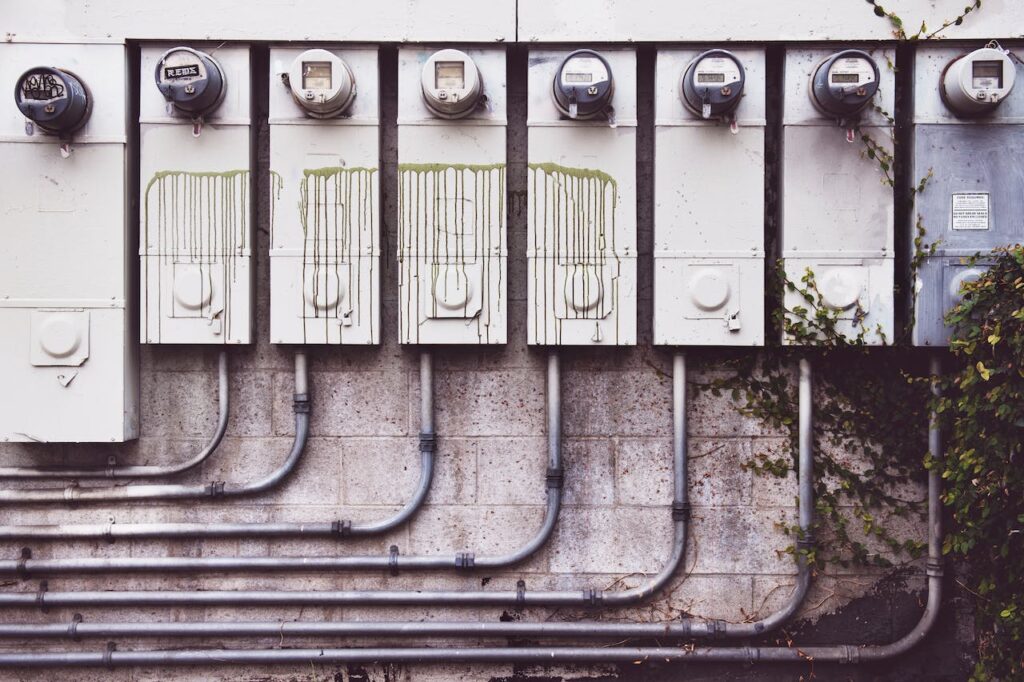
For systems connected to the grid, an agreement with your utility company will need to be established. This typically involves installing a net metering system, which allows you to feed excess electricity back into the grid and receive credit on your utility bill.
Step 9: Final Inspection and Activation
After installation, a final inspection by a local building inspector and/or utility company representative may be required. Once approved, your system can be activated, and you can begin generating your own solar power.
The DIY Approach
The DIY route appeals to those who have a good grasp of electrical systems and are comfortable with home improvement projects. It can potentially save you thousands of dollars in labor costs.
Pros of DIY Installation
- Cost Savings: The most apparent advantage of DIY solar panel installation is the cost savings on labor, which can significantly reduce the overall price of the system.
- Learning Experience: Undertaking the installation yourself can provide a deep understanding of your solar system, making future maintenance or troubleshooting easier.
Cons of DIY Installation
- Complexity and Safety Concerns: Solar panel installation involves complex electrical systems. A lack of expertise can lead to safety hazards or reduced system efficiency.
- Permitting and Regulations: Navigating the permitting process and ensuring your installation complies with local codes and regulations can be challenging without professional guidance.
- Warranty and Support: Some manufacturers may not honor warranties if the system is not professionally installed.
Opting for Professional Installation Services
Professional installation services offer peace of mind and ensure that your system is set up efficiently and safely by experienced technicians.
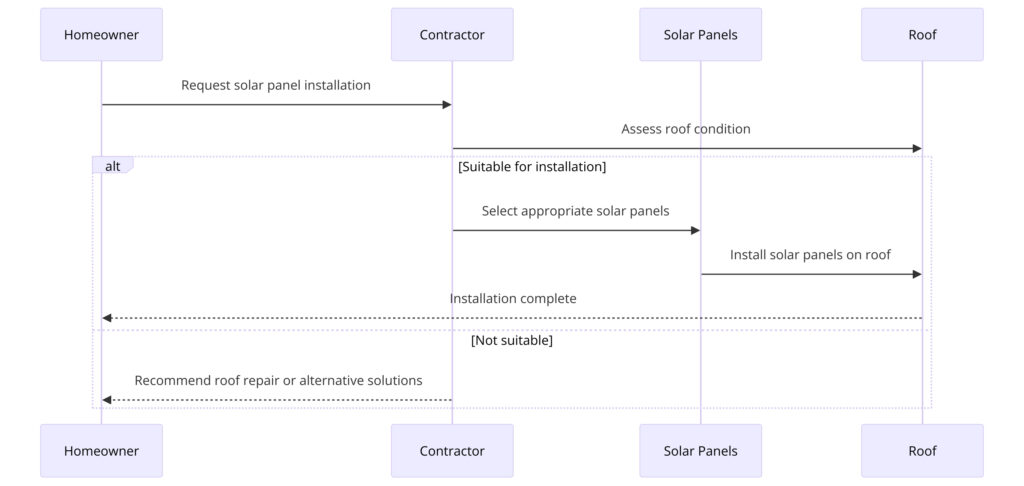
Here’s how the process unfolds:
- Homeowner requests solar panel installation from a contractor.
- The contractor evaluates the roof condition to see if it’s suitable for installation.
- If the roof looks good for installation, the contractor selects the appropriate solar panels and proceeds with the installation on the roof.
- Upon completion, the homeowner is informed that the installation is complete.
- If the roof is not suitable, the contractor recommends roof repair or alternative solutions.
Pros of Professional Installation
- Expertise and Experience: Professionals bring years of experience and knowledge, ensuring your system is installed correctly and optimized for your home’s specific needs.
- Warranty and Support: Professional installations often come with warranties on both the products and the labor, providing long-term support and maintenance options.
- Hassle-Free Process: Hiring professionals means they handle everything from system design to permitting, installation, and grid connection, offering a hassle-free experience.
Cons of Professional Installation
- Higher Initial Costs: The primary drawback of professional installation is the higher upfront cost due to labor charges.
- Less Control: You have less control over the installation process and timeline when relying on a professional service.
Making the Right Choice
The decision between DIY and professional solar panel installation depends on several factors, including your technical ability, budget, and the complexity of your solar project.
Considerations for DIY Enthusiasts
- Assess your skills and understanding of electrical systems carefully.
- Research and comply with local codes and regulations.
- Understand the limitations regarding warranties and support from manufacturers.
When to Choose Professional Installation
- If you prefer a hassle-free process with expert handling.
- For complex installations or if your home has unique challenges.
- To ensure compliance with all regulations and benefit from warranties.
Conclusion
Choosing between DIY and professional solar panel installation involves weighing the pros and cons of each option in the context of your specific situation. While DIY installations can offer significant cost savings and a rewarding project experience, professional installations provide expertise, convenience, and peace of mind. Ultimately, the decision should be based on your abilities, the complexity of your solar project, and your budget.
Remember, investing in solar energy is a significant step towards sustainable living, whether you install the panels yourself or opt for professional services. With careful consideration and planning, you can ensure that your solar panel installation aligns with your goals for energy independence and environmental stewardship.
Feature Image Credit: Adobe Stock